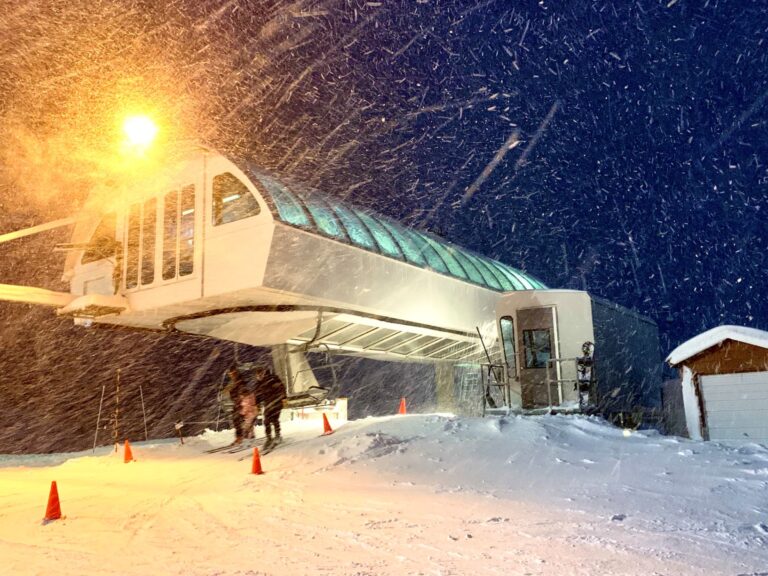
The first time I slept in a snow cave, I admit I was cheating. I was with a large group at a small cabin, and when I found a ready-made snow cave just off the footpath that night, I couldn’t help but think it sounded nicer than claiming a small bit of floor space inside the cramped cabin, surrounded by a bunch of other sleepers who no doubt snored.
When I emerged from the shelter several hours later, morning light revealed the danger of the spot. It was carved out of a mountain of snow that slid off the roof each time someone cranked up the fireplace inside, just as my friends had the night before. It was a miracle that an avalanche of snow hadn’t broken free as I slept, blocking both my exit and my air supply.
The next winter I forgot my misgivings just long enough to try building a quinzee. This type of shelter is formed by creating a mound of snow, then carving out the center to create a sleeping space. I found several online tutorials. A teacher at the time, I took advantage of a district-wide snow day to test one from the safety of my front yard. Kids, this is the kind of crazy stuff your teachers might be doing when all the schools are closed. I liked the idea of making my first quinzee at home so I could bail out if I needed to, rather than trying it for the first time in a situation where I would need to rely on my Google-gathered knowledge to provide actual shelter. I needed to move the snow out of my driveway to extract my car anyway.
After a few hours of shoveling, I gave the snow the recommended two hours to settle and harden. The tutorial recommended making the exterior walls at least one foot thick, which was done by poking several foot-long sticks into the snow all the way around the mound. I could tell I had reached the correct thickness when, while carving inside, I reached the end of the sticks. After an hour of digging, I was nearly satisfied with my creation. Suddenly and without warning, the snow collapsed on top of me. It took me a moment to fight back the panic and force myself to be still, evaluating the situation. While there was snow covering my face, I could breathe, and though my arms were pinned, I could move my legs. After a few anxious minutes, I carefully kicked my way out.
In hindsight, the problem may have been that the snow was too dry to properly harden, even after letting it settle for two hours. I’m sure it is possible to build a great quinzee, but following my two close encounters, I’m done with snow shelters. I found an excellent four-season tent for winter backpacking, and when I don’t want to carry it, I rent a Forest Service cabin instead.
For those who would still like to attempt winter camping in a snow shelter, keep in mind that my biggest mistakes were claiming a borrowed snow cave in the dark, where I couldn’t properly assess the safety of the location, and building a quinzee without using the buddy system. Carrying a heavy tent in winter is tough, but so is bringing along a complete set of clothing to change into, as building any type of snow shelter, especially alone, will drench both gloves and clothing layers. The interior of a snow shelter will remain at 32 degrees Fahrenheit, which is almost always warmer than outside and colder than one is used to. Be sure to bring a good closed-cell foam pad to insulate against the frigid floor of the shelter. You’ll be sleeping in the equivalent of a refrigerator, where your water and food won’t freeze, but you might if you’re not careful. //

